My name is Shunsuke KANAI from ASAHI Driving School.
We offer lessons for foreigners living in Japan to switch from a foreign driver’s license to a Japanese license. Since we have received so many reservations recently that we have not been able to fulfill all requests, we have created a manual that fully recreates our lessons.
Getting a driver’s license in Japan is said to be the most difficult in the world.
It is very tough to pass the test without preparation, and many people take the test several times. In addition, driving test centers are always crowded, with long waiting times; and taking the test multiple times wastes both money and time.
Please use this manual to help you pass the exam !
STEP 1.Cautions when boarding and starting the vehicle
②Before opening the door, look behind you to make sure there are no cars following you
③Close and lock the door
STEP 2.Before starting the engine
②Check the angle of the room mirror *Touch even if the angle is appropriate
③Fasten your seatbelt
※These adjustments are to be made only before starting the engine; adjustments made while the vehicle is running will result in deduction of points.
STEP 3.When starting the engine
②Make sure the gear shift is in the “P” position
③Step on the brake
④Start the engine
※Keep depressing the brake pedal until the car starts.
STEP 4.Starting the vehicle
②Release the parking brake
③Check rear view mirror→left side mirror→right side mirror
※Turn your entire face, not just your eyes, when you check the room mirror and side mirror
④Put the right blinker
⑤Check rear view mirror→left side mirror→right side mirror→Visualize right rearward
⑥Start the car slowly
※Keep both hands on the steering wheel
⑦Stop the right blinker
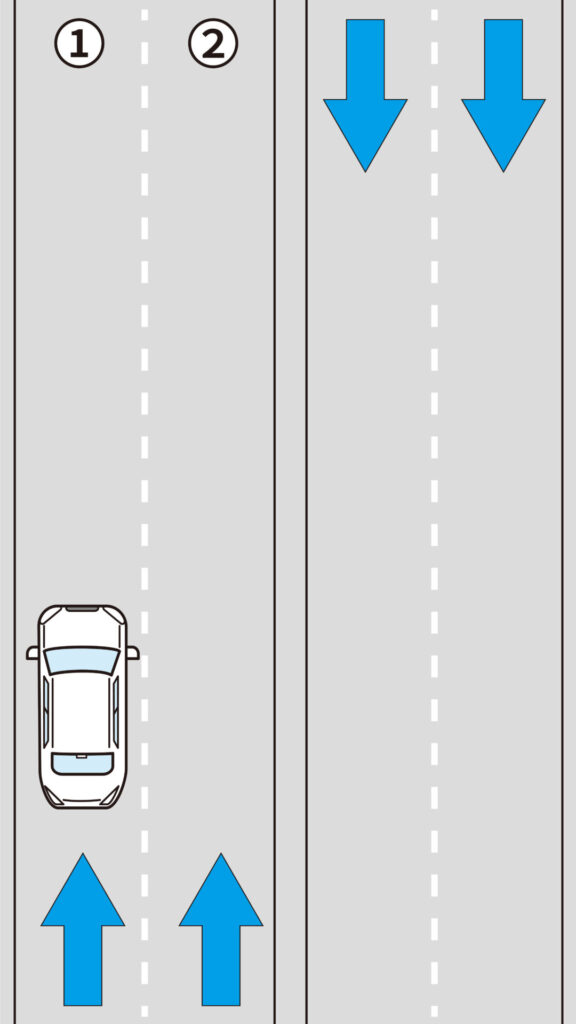
【Basic rules while driving】
In Japan, the rule is that vehicles must pass on the left side of the road.
Driving test centers generally provide a two-lane course, with the driving lane on the left and the passing lane on the right. Therefore, if there are two lanes in each direction, you will always drive in the left lane and use the right lane only when avoiding obstacles and when turning right.
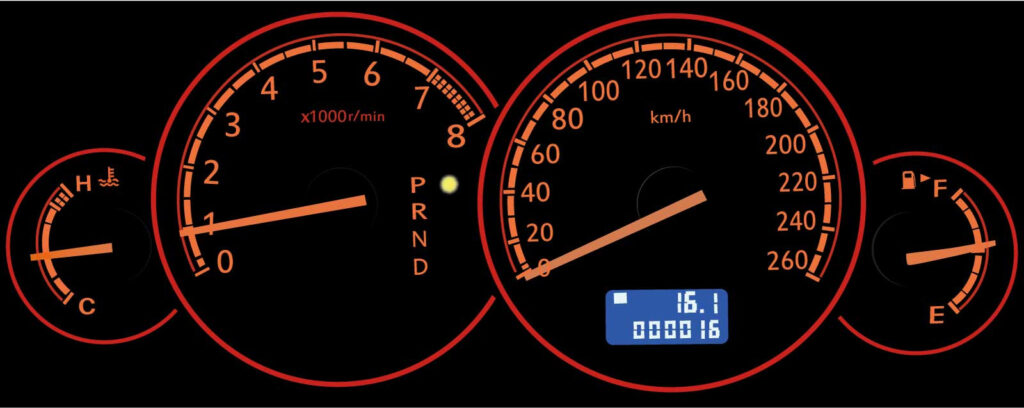
STEP 5.When going straight
The key is to be able to accelerate well up to the speed limit. Keep a balanced driving.
If the maximum speed is 40 km/h, drive fast enough to 40 km/h. Of course, do not exceed 40 km/h. On the other hand, slow down when changing lanes, avoiding obstacles, turning right or left, and other places where you need to check for safety.
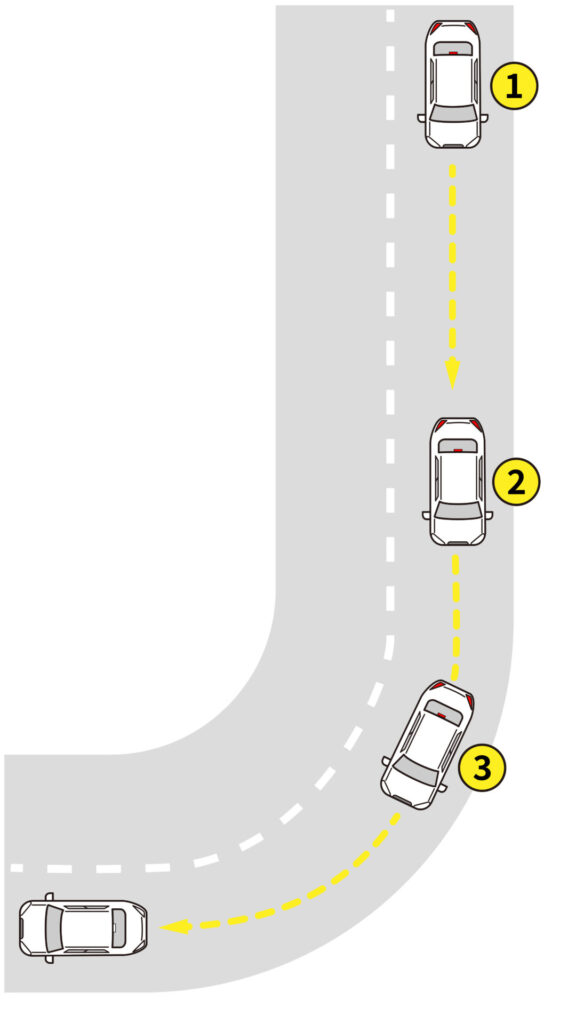
STEP 6 .When entering a curve
Before entering a curve, you must step on the brake three times to slow down your speed to 20 km/h.
Do not step on the brake while driving on curves.
STEP 7.Momentary Stop
Be sure to stop approximately 1 second before the stop line. If there is any movement, points will be deducted.
【Intersections】
Green lights allow straight ahead, right turns, and left turns.
At a red light, stop before the stop line.
At a yellow light, stop before the stop line.
※However, when the light turns yellow, if you are approaching a stop position and cannot safely stop, you may go ahead.
This point is often misunderstood, but a yellow light means “stop.”
Red and yellow lights mean “stop”; stop before the stop line.

STEP 8.Turning left
When turning left, the most important thing is to check the blind spot on the left side. The examiner is watching whether you are able to reliably check blind spots that cannot be seen in the mirrors.
②30 meters before turning left, put out your left blinker and pull over to the left side of the lane. (To keep bicycles and motorcycles from passing)
③Before the intersection, check the left side mirror again and check the blind spot visually.
④Make a tight turn along a curve at a speed of 10 km/h or less.
STEP 9.Turning right
②30 meters before turning right, put out your right blinker and pull over to the right side of the lane.
③Before the intersection, check the right side mirror again and check the blind spot visually.
④Turn along the front of the “diamond” or “triangle” in the center of the intersection.
※Never cross these ” diamond” or ” triangle ” markings.

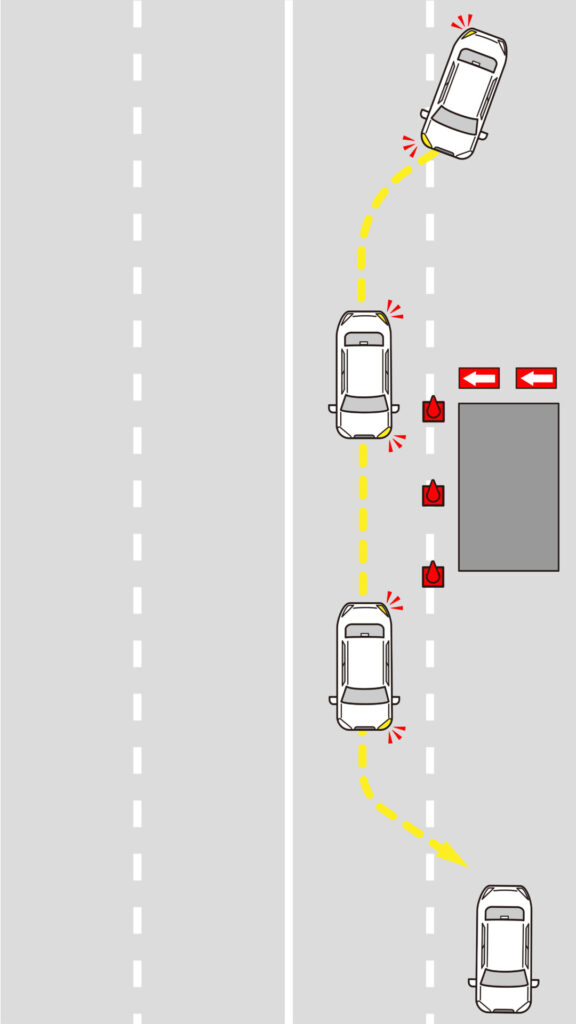
STEP 10.How to avoid obstacles
This area needs the most attention.
②Start the right blinkng for 3 seconds
③Change lanes to the right after looking in the right side mirror and right rearward.
※Run about 1m or less away from obstacles.
④Change lanes to the right
⑤Start the left blinkng for 3 seconds
⑥Change lanes to the left after looking in the left side mirror and left rearward.
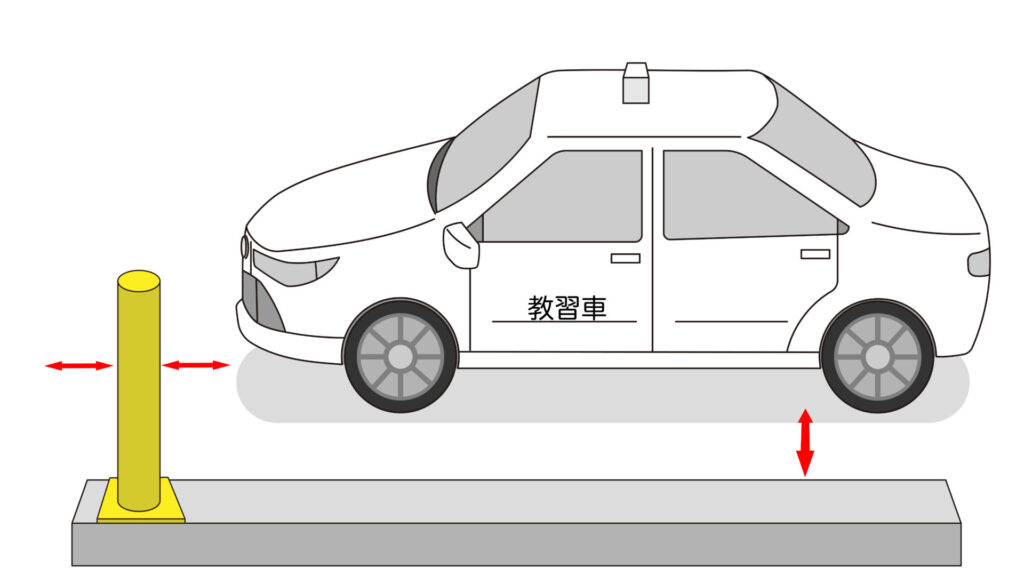
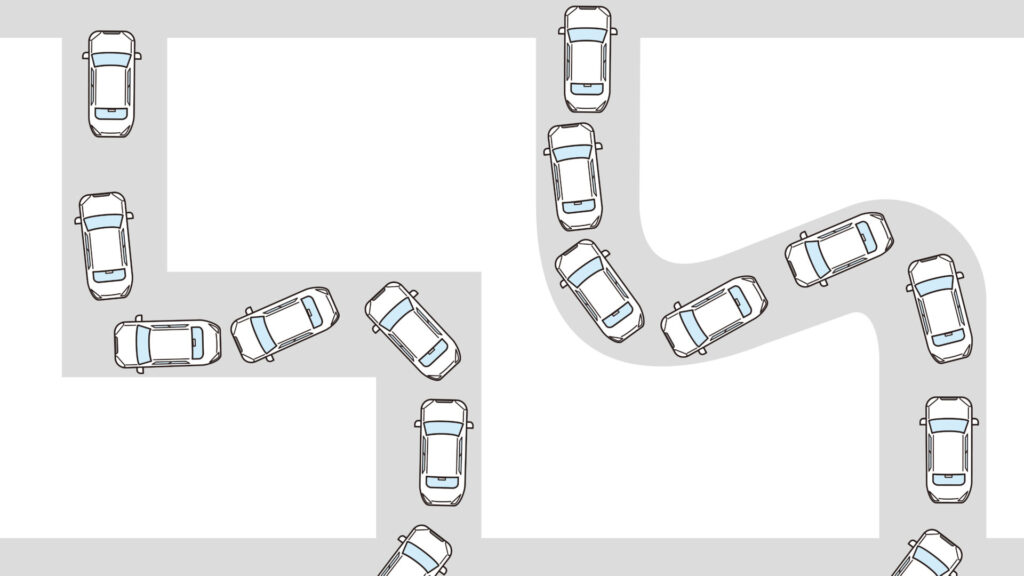
STEP 11.Narrow road *S-curve, Crank
②No need to rush, take your time and slowly and carefuly.
③Cars must not run onto the curb or touch the pole
※If you run up onto a curb, just back up and start over.
④Backing up the vehicle is allowed only once; points will be deducted from the second time.
Many people drive up onto the inside curb.
Pull the car as far outward as possible and then steer inward.
STEP 12.Stopping the vehicle
②Start the left blinkng for 3 seconds
③Change lanes to the left after looking in the left side mirror and left rearward.
④Align the end of the front bumper with the designated pole and stop
⑤Turn off blinkers after stopping
⑥Put the shift lever in “P” and apply the parking brake
⑦Turn off the engine and unbuckle the safety belt
⑧When instructed by the examiner, look in the right side mirror, visually check the right rearward and open the door slightly, and if there is no danger, open the door completely